Serialization tutorial
In this very short tutorial, I’ll show you how to produce JSON documents easily with the ArduinoJson library.
Before starting, make sure that the library is installed and add the following statement at the top of your program:
#include <ArduinoJson.h>
The JSON output
In this tutorial, we’ll write a program that generates the following output to the serial port:
{
  "sensor": "gps",
  "time": 1351824120,
  "data": [
    48.75608,
    2.302038
  ]
}
As you can see, it’s a JSON object containing three members: a string named “sensor”, an integer named “time”, and an array named “data”.
Storing simple values
Before producing a JSON output, we must store all the values in a variable. With ArduinoJson, this is done with the JsonDocument class:
JsonDocument doc;
Then, we add the values using brackets and the name of each object member. The first two members are straightforward:
doc["sensor"] = "gps";
doc["time"] = 1351824120;
Things get slightly more complicated for the array.
Storing arrays
ArduinoJson offers multiple syntaxes for adding values to an array.
First, you could use the brackets to assign an element at the specified index:
doc["data"][0] = 48.75608;
doc["data"][1] = 2.302038;
Or, you could call add() to append a new element at the end of the array:
doc["data"].add(48.75608);
doc["data"].add(2.302038);
In both cases, however, the program performs the name lookup twice, which is inefficient. Indeed, you can see that the string “data” appears twice, forcing JsonDocument to look for the member twice.
We can avoid repeated lookups by storing a reference to the array:
JsonArray data = doc["data"].to<JsonArray>();
data.add(48.75608);
data.add(2.302038);
Notice the call to to<JsonArray>(), which tells the library to convert the object member to an array. With the two previous syntaxes, the conversion was implicit, but here, we need to be explicit.
JsonArray doesn’t hold any memory; instead, it refers to the data inside the JsonDocument. Therefore, you can only use a JsonArray if the corresponding JsonDocument is alive.
Similarly, ArduinoJson provides JsonObject, which refers to a JSON object in a JsonDocument.
Producing the JSON string
Now that the JsonDocument contains the data, we can produce a JSON string from it. In ArduinoJson, this is done with the serializeJson() function:
char output[256];
serializeJson(doc, output);
As you can see, you must pass the JsonDocument as the first argument and the destination variable as the second argument.
The destination can be a char array, a string, or a stream.
For example, if you want to send the JSON output directly to the serial port, you can pass Serial as the second argument.
serializeJson(doc, Serial);
serializeJson() produces minified JSON output; if you need an indented JSON output, you must call serializeJsonPretty() instead.
The ArduinoJson Assistant
As you can see, the most challenging part of this tutorial was filling out the JsonDocument correctly. To help you in this task, we provide the ArduinoJson Assistant, an online tool that scaffolds the code for you.
The ArduinoJson Assistant is designed as a three-step wizard.
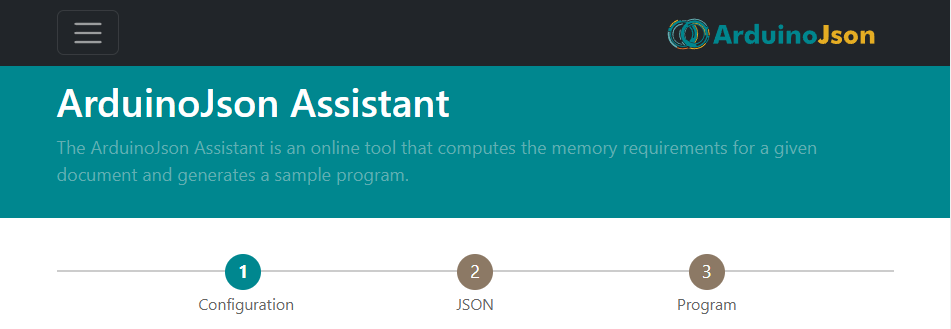
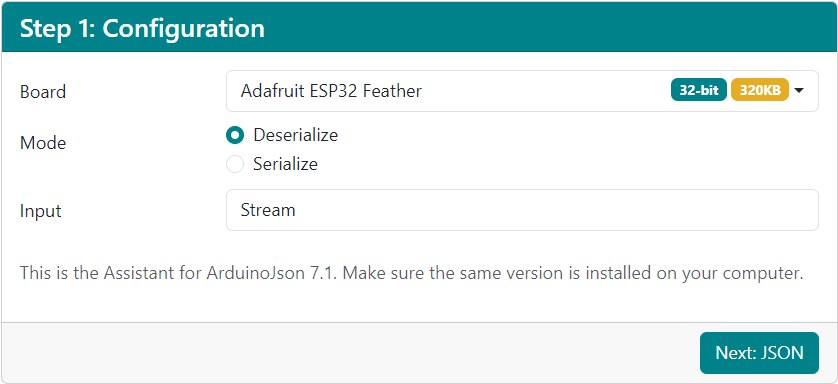
In the first step, you select the microcontroller, choose either serialization or deserialization, and select the output type. Knowing the microcontroller allows the Assistant to estimate the memory consumption and tell you immediately if the JSON document can fit in the RAM.
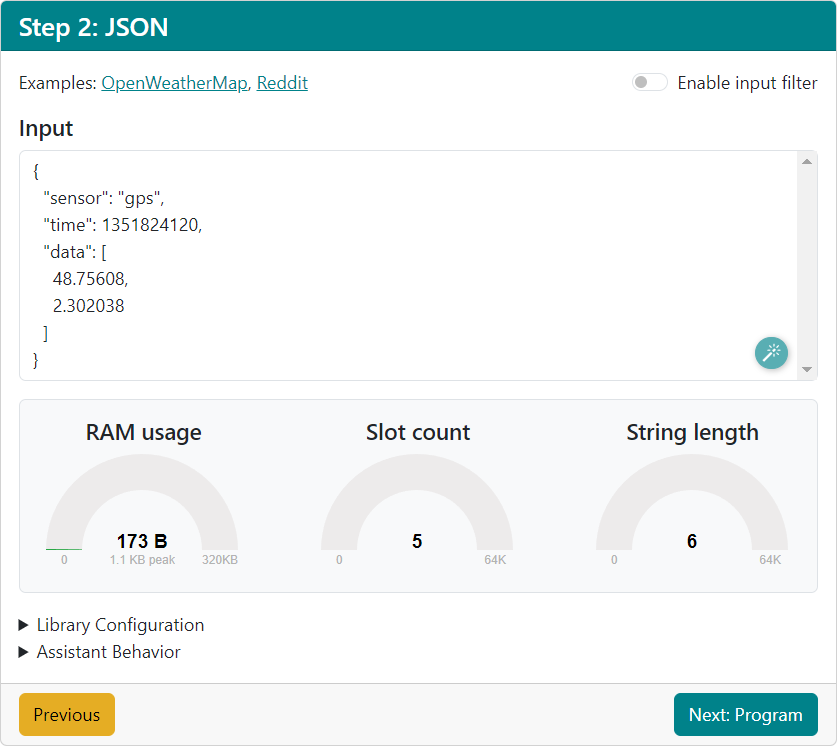
In the second step, you must enter the JSON document you want to generate. Below the document, you’ll see a few gages that tell you how far away you are from the software and hardware limits.
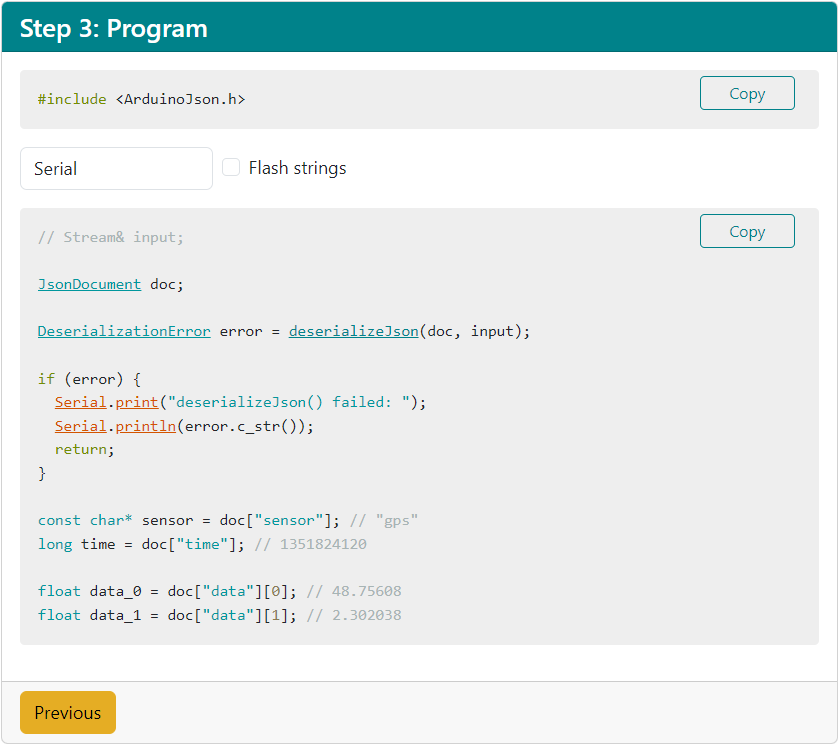
In the third step, the Assistant provides a sample program to generate the document you specified in step 2. You can use this code as a starting point for your project.
Conclusion
That’s all for this express tutorial on serialization. It should get you started with the most simple tasks, and you should now be able to understand the rest of the documentation.
If you need a more thorough introduction to serialization with ArduinoJson, I invite you to read the fourth chapter of my book, Mastering ArduinoJson. Not only does it explain how to produce a JSON string, but it also shows how to send the JSON document as part of an HTTP request with a real-life example using Adafruit IO.
Of course, you’ll find many other exciting things in the book, including another tutorial for deserialization, advanced library features, and several case studies. Purchasing this book is also an excellent way to support the development of the library 💖.
